
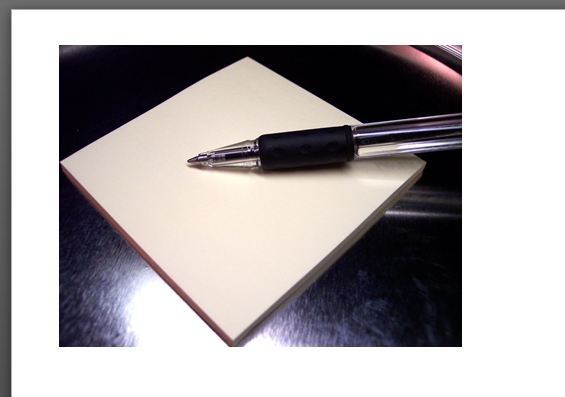
We all know about licensing when it comes to using images on the internet and, if you don’t, here is a good website explaining everything! Once you’ve chosen your stock photo, it’s nice to put your own unique stamp on it. It’s great for marketing your own business, invitations to an event, or just as a bit of fun! And of course, you’re not just limited to stock photos, why not have a go using your own photographs? (as I did recently here). This tutorial is going to show you how to do just that 🙂
Once you’ve downloaded your image, open up a blank PowerPoint slide and insert the image into the slide, insert a text box anywhere on the image and type in what you want to say…
![]()
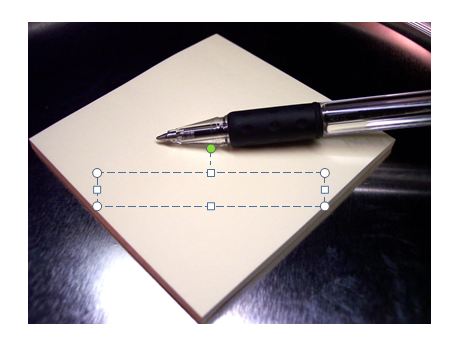

Then, once you have the text, just tweak it to the style you want. For example, we can rotate the text box and place it in a better position. To rotate the text box, just click on the green circle above the box and drag it round to the angle you want…
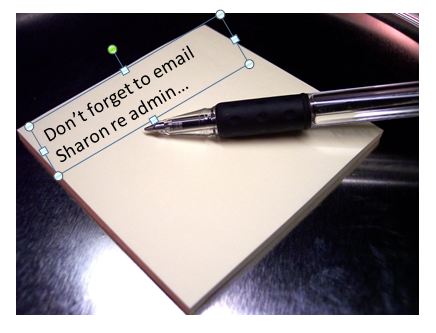
Then, you can change the font, colour, style of the text (just make sure you’ve either highlighted the actual text, or selected the outline of the text box). You can even add shapes, other images, more text boxes etc…
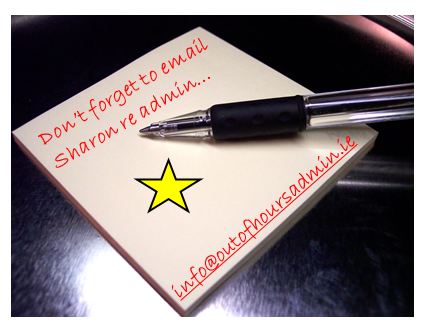
Then, select everything by pressing Ctrl and clicking on each text box, shape etc…

Right click the mouse and select Group…
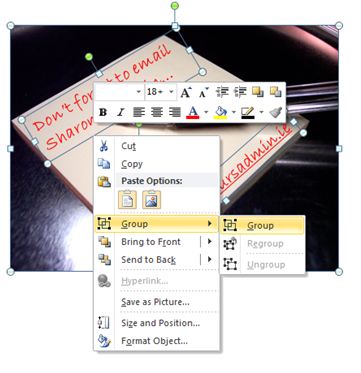
This will group everything together. Click on the picture again, right click the mouse and choose Save as Picture…

This means it will be easier to upload as an image onto your social media sites and that’s it – you now have your own unique image. Of course, there are lots of other ways to make an image unique, when you first insert the image into PowerPoint, go to Picture Tools, Format on the ribbon…
![]()
… and have a play around with different frames/borders, shadows, colours etc to put your own stamp on it 🙂