
Following on from a previous tutorial showing how to insert a table in Word, this quick time-saving guide will show you how to sum a table in Word.
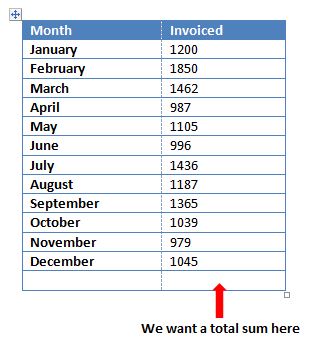
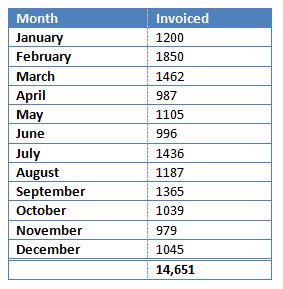
Click into the cell where you’d like the total to be, in the example below we want to insert a total invoice amount at the bottom of the 2nd column…
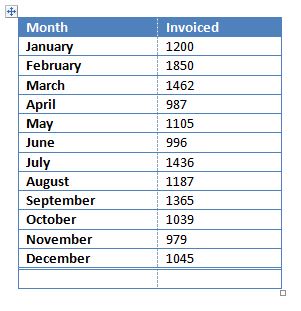
Click into the Design tab under Table Tools on the ribbon and tick Total Row…

This will format the row where your cursor is placed, inserting a double line above…
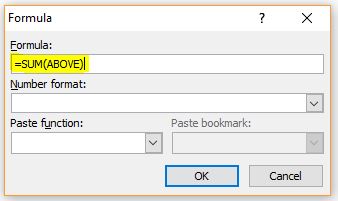
Next, making sure your cursor is still in the cell where you want the total to be, click on the Layout tab under Table Tools, go to the Data group and click Formula…

This will open the formula dialogue box, you’ll see that it has automatically inserted the sum formula for you…
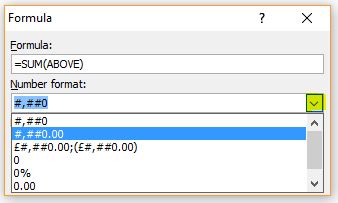
All you have to do is format the number (if you want to), by clicking the drop down arrow and choosing how you want the number to be displayed, then click OK…
You’ll see the total has now been inserted into the relevant cell…
If you now change any figures in the table, or remove / add rows the total cell will need to be updated. To do this click on the total – you’ll see the field is shaded grey – and press F9 to update.
And that’s it… a quick way of adding a sum formula to a table in Word 🙂